
Card,

Hi guys! How are you? I hope everything great! I'm apologies for my long absence. I was preparing for grandiose project. And I'm sure, you will love it;)
But it will be in future, right now I have great tutorial for you! As was promised, you will learn how to create gorgeous and very simple shaker card.

First of all, you will need sheet of thick foam. I used just simple foam, that you may find in any children supply place, but you may use fancy double sided foam or something like that.

Only be sure that it thick enough to become a shaker window. Also you will need patterned paper of your choice, card's base, pease of clear film, filling for the shaker and any embellishments you may like.

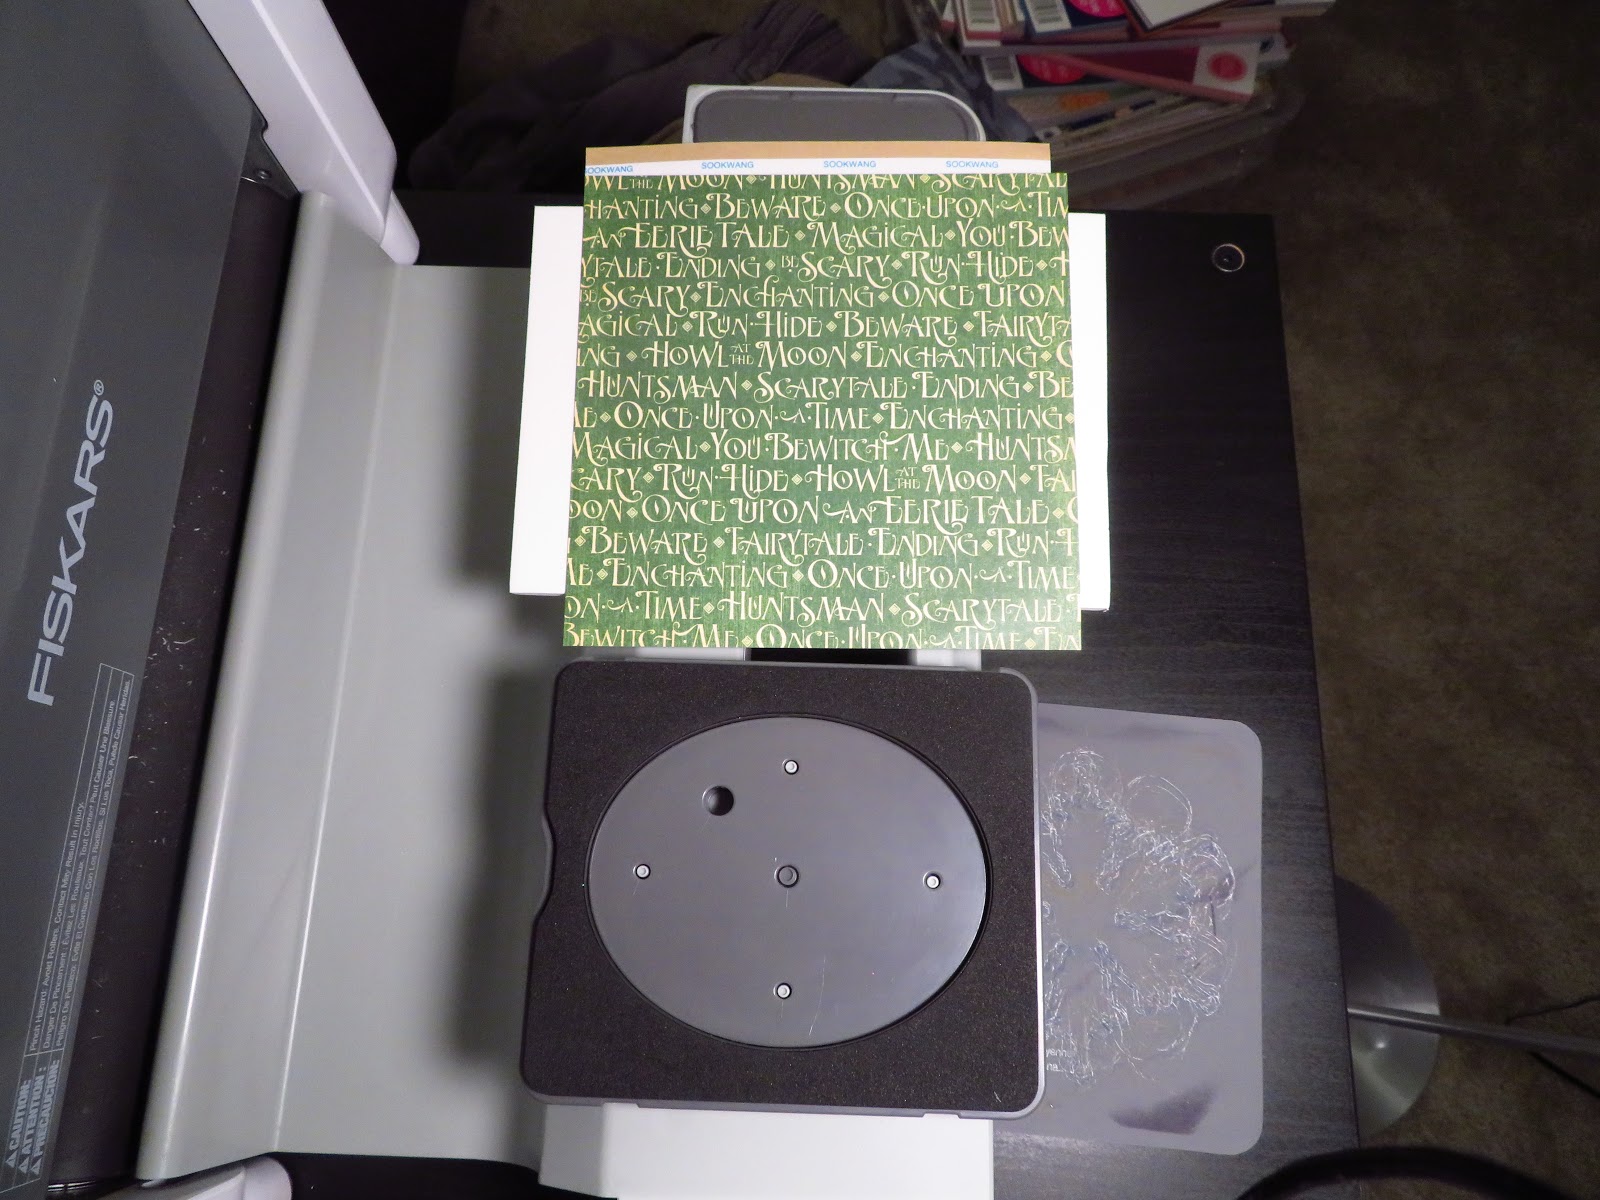
First step will be cut your foam, top layer of paper, film and card's base for desirable size.
I used trimmer, and I think it is the best way, because thickness of foam won't let you cut it straight with scissors.


After that, I cut window in the middle of the foam and patterned paper. It will be possible only with thick dies, so if you have some, you may chose any design. For best result it is better to cut window through all layers in same time, so it will align perfectly, but if sandwich is too thick for your cutting machine, don't torture it in vain and cut it one at a time.

 After all cutting is finished, I painted each side of my foam in coordinated color.
Then I created beautiful pumpkin using same die as for cutting window, so it will fit into hole. Pumpkin itself looked OK, but I decided make it little bit more graphic. So I colored it with acrylic paint.

I adhere my foam to card base using adhesive sheets, but you may use simple tape. Or, if you will use adhesive foam, you won't need anything extra.

Then I filled my window with micro beads, glitter, confetti etc.

Then I adhered my film on top of the window, so now my filling securely locked inside.


Final step - put patterned paper on top and embellish everything according to your taste.

Everything is ready! What do you think about our Halloweeny shaker? I think it's awesome! And now you may use this technique with any dies and create projects for any occasion. I used absolutly the same way for creating my previous two shakers. Very simple, quick and looks amazing!
I hope you enjoyed this tutorial and will create something uniquely beautiful!
Take care! See you soon!
Halloween Shaker, Or I Know This Pumpkin!

Hi guys! How are you? I hope everything great! I'm apologies for my long absence. I was preparing for grandiose project. And I'm sure, you will love it;)
But it will be in future, right now I have great tutorial for you! As was promised, you will learn how to create gorgeous and very simple shaker card.

First of all, you will need sheet of thick foam. I used just simple foam, that you may find in any children supply place, but you may use fancy double sided foam or something like that.

Only be sure that it thick enough to become a shaker window. Also you will need patterned paper of your choice, card's base, pease of clear film, filling for the shaker and any embellishments you may like.

First step will be cut your foam, top layer of paper, film and card's base for desirable size.
I used trimmer, and I think it is the best way, because thickness of foam won't let you cut it straight with scissors.

After that, I cut window in the middle of the foam and patterned paper. It will be possible only with thick dies, so if you have some, you may chose any design. For best result it is better to cut window through all layers in same time, so it will align perfectly, but if sandwich is too thick for your cutting machine, don't torture it in vain and cut it one at a time.

 After all cutting is finished, I painted each side of my foam in coordinated color.
Then I created beautiful pumpkin using same die as for cutting window, so it will fit into hole. Pumpkin itself looked OK, but I decided make it little bit more graphic. So I colored it with acrylic paint.

I adhere my foam to card base using adhesive sheets, but you may use simple tape. Or, if you will use adhesive foam, you won't need anything extra.

Then I filled my window with micro beads, glitter, confetti etc.

Then I adhered my film on top of the window, so now my filling securely locked inside.


Final step - put patterned paper on top and embellish everything according to your taste.

Everything is ready! What do you think about our Halloweeny shaker? I think it's awesome! And now you may use this technique with any dies and create projects for any occasion. I used absolutly the same way for creating my previous two shakers. Very simple, quick and looks amazing!
I hope you enjoyed this tutorial and will create something uniquely beautiful!
Take care! See you soon!


0 comments: