
Card,
 Hi again! My artsy night was plentiful and as result I created this beautiful whimsical card.
A sweet little panda greets you! But this is not the reason why this card is so special. If you take a closer look, you will realize, that three more pandas are hiding inside!


 And now I tell you how you can bring more cute pandas into your life and your cards.
You will need card base (I used 5 by 5 inches, but you can use any size you want, only make sure it's square), two pieces of cardstock (5 by 5 inches in my case ) and one bigger piece (5 by 10 inches). Also you will need circle with diameter in one inch smaller than your base (4 inches for me).
Tip: use thick cardstock for circle because it will be easier to rotate and harder to crush
You will need a lot of foam tape or foam squares, or glue dots. Or you can use any dimensional adhesive.
So, let's start!
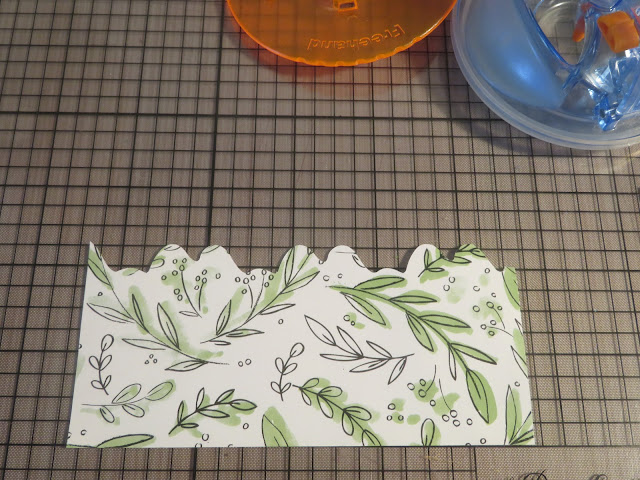
 First of all I cut the base to the desired size - 5"x10", and prepared patterned paper for my card face.

After that I prepared 4"x4" circle for rotating element. For this I used thick 110lb cardstock.
 Next, I made my embellishments. For you this step may be unnecessary. You may use stickers, flowers, even photos if you want, just unleash your creativity and make something absolutely unusual!
 I used stamps with my little pandas and put them on scalloped circles. I think they turned out just beautiful!
Tip: at first I put my pandas on foam tape, but in the end I realized that they stuck when I tried to rotate them, so, my advice is to use usual tape or glue if you decide to make similar kind of embellishments.
 When all my elements were ready I start to gather them together. I use 5"x5"piece of coordinate paper for background.


 Now I started prepare front side of my card. I decided that simple square will be too boring, so I made it little bit fancy with corner punch.
 I think this corners look somehow Asian. Do you?
 I cut semi circle on front paper same way as on base piece.
 And made square window where I planned it.

 Inside my card I made small pocket. You may put there little tag or gift card or letter, anything you want!
Tip: at first I didn't think about inside part of my brad and that I should somehow masked its small legs. That's why I advice you use bigger piece of paper inside your card that cover it all.


Now, before I put it all together, I made small frame around my window and put sentiment in my front side.
 I used foam squares to raise the last layer above the base.


 Everything is ready!
You may use this technique not only in cards and albums, but in million different ways. Just let your fantasy fly free and you will come up with great ideas!
Thank you very much for your time. I hope you enjoy my tutorial and find it useful! If you have any questions I will be happy to help.
See you soon!
Spinning card. Endless fun with little pandas!

A sweet little panda greets you! But this is not the reason why this card is so special. If you take a closer look, you will realize, that three more pandas are hiding inside!


You will need card base (I used 5 by 5 inches, but you can use any size you want, only make sure it's square), two pieces of cardstock (5 by 5 inches in my case ) and one bigger piece (5 by 10 inches). Also you will need circle with diameter in one inch smaller than your base (4 inches for me).
Tip: use thick cardstock for circle because it will be easier to rotate and harder to crush
You will need a lot of foam tape or foam squares, or glue dots. Or you can use any dimensional adhesive.
So, let's start!


After that I prepared 4"x4" circle for rotating element. For this I used thick 110lb cardstock.


Tip: at first I put my pandas on foam tape, but in the end I realized that they stuck when I tried to rotate them, so, my advice is to use usual tape or glue if you decide to make similar kind of embellishments.


I used circle punch to create a semicircle in the right side of my card.

Then I put my circle in the center and fixed it with little brad.

And at last I glued pandas on the circle.


Tip: at first I didn't think about inside part of my brad and that I should somehow masked its small legs. That's why I advice you use bigger piece of paper inside your card that cover it all.


Now, before I put it all together, I made small frame around my window and put sentiment in my front side.


You may use this technique not only in cards and albums, but in million different ways. Just let your fantasy fly free and you will come up with great ideas!
Thank you very much for your time. I hope you enjoy my tutorial and find it useful! If you have any questions I will be happy to help.
See you soon!


0 comments: